Tapuino C64

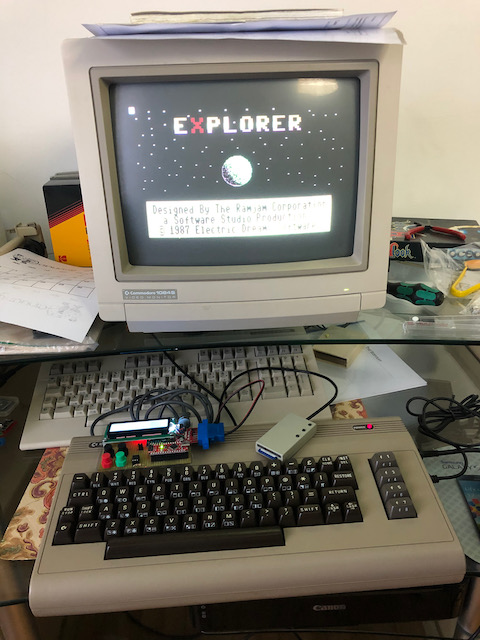
Il Tapuino è un emulatore hardware del Datassette per il Commodore. Basato su un microcontrollore Arduino Nano, permette di caricare giochi e programmi memorizzati su file da una scheda SD.

Per chi, come è, ha passato giornate intere davanti allo schermo con il Commodore 64 quando era bambino, sa bene il tempo che ci voleva per caricare un gioco dal nastro di una cassetta audio. All’epoca era il media più diffuso per la sua economicità. Solo i più fortunati potevano permettersi il disk drive 1541.

Il sistema era anche poco affidabile e capitava spesso, dopo un certo uso, che la testina perdesse l’allineamento facendo fallire il caricamento proprio alla fine e dopo una lunga attesa!

Il Tapuino non velocizza il processo di caricamento, in quanto emula perfettamente il dispositivo originale, ma almeno lo rende più affidabile.

Il mio Tapuino realizzato con componenti riciclati che avevo in disuso.

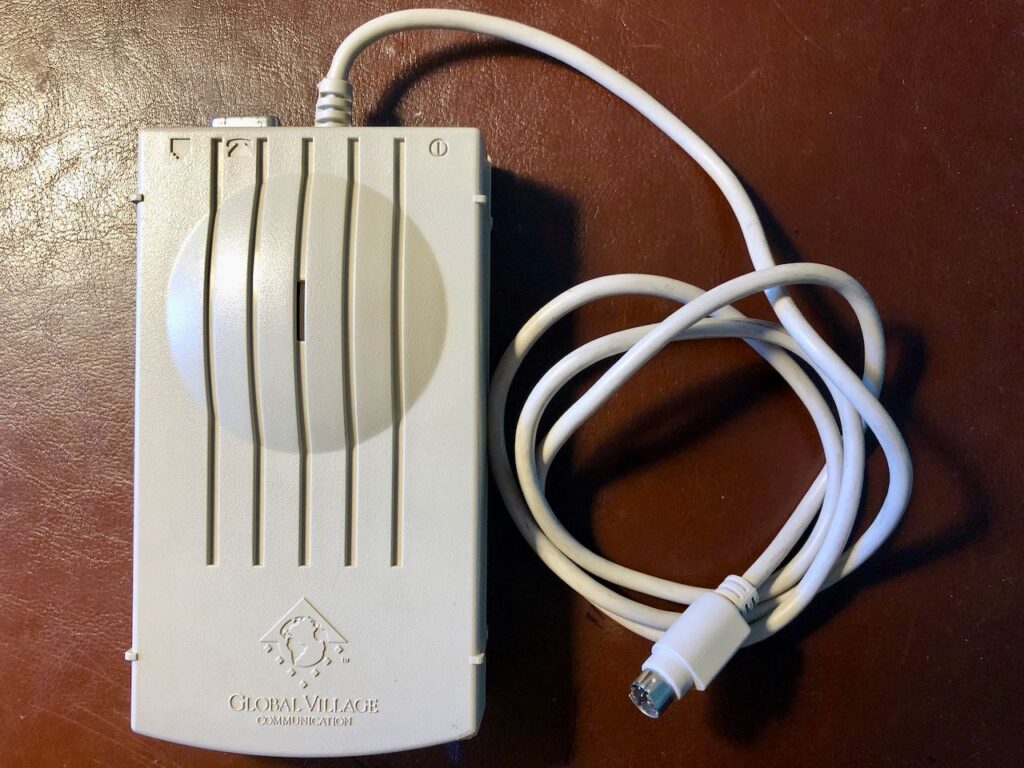
Così mi sono cimentato nella costruzione del mio Tapuino, dal momento che avevo già tutti i componenti necessari incluso il cavo ricavato dal mio Datassette non più funzionante.

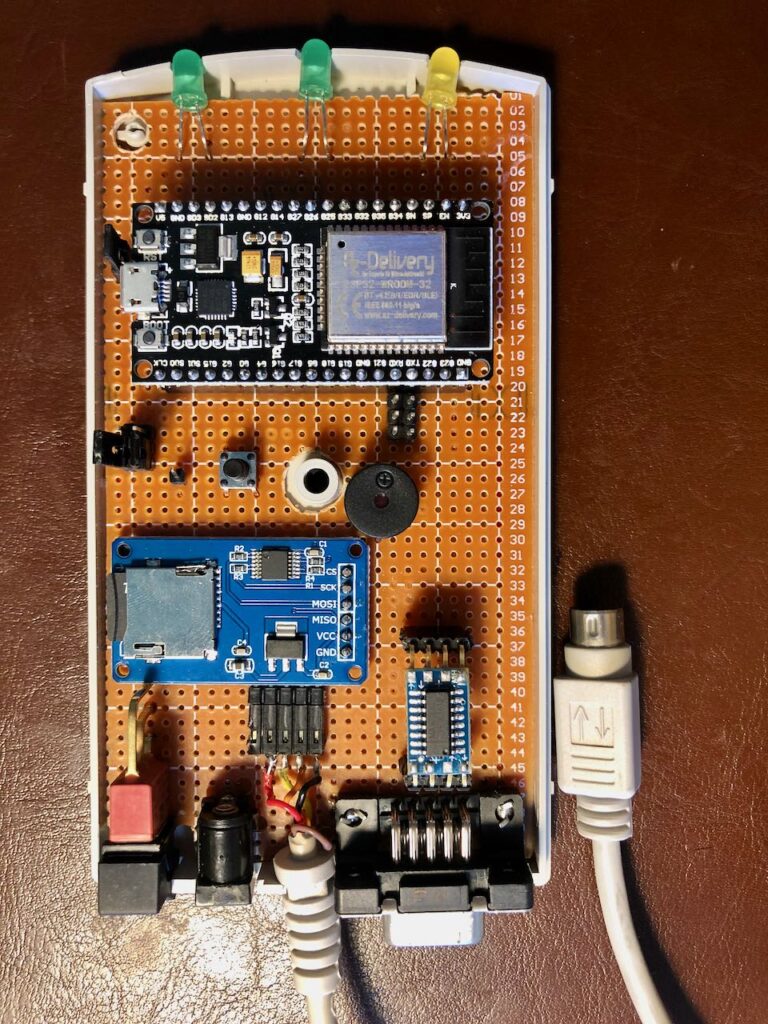
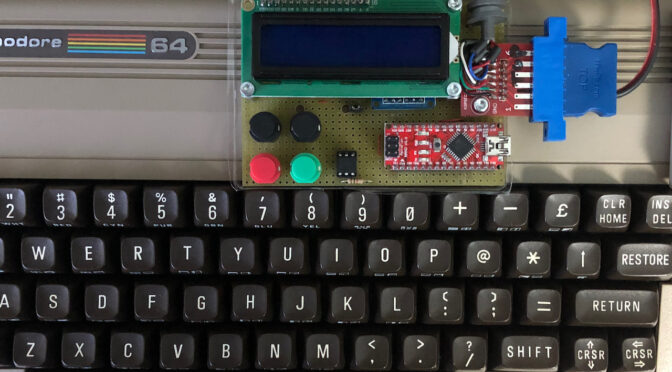
In realtà il design è davvero semplice e richiede pochi componenti, facilmente reperibili in rete:

  • microcontroller Arduino Nano
  • display LCD con interfaccia I2C
  • 4 tasti push
  • 1 resistenza
  • 1 accoppiatole fotoelettrico

Sul sito ufficiale si trovano schemi e dettagli dei componenti necessari, pertanto non sto a riscriverli qui.

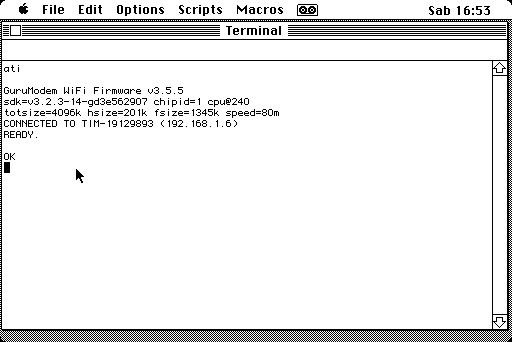
Il montaggio è abbastanza semplice se si ha un minimo di dimestichezza con il saldatore. Anche la compilazione e il caricamento del firmware richiede solo l’IDE di Arduino e la creazione del file config-user.h con le impostazioni personali che nel mio caso si tratta di queste pochissime righe:

#define LCD_USE_1602_LCD_MODULE
#define LCD_I2C_ADDR        0x3F
#define TAPUINO_LANGUAGE_IT
La scheda filata del mio Tapuino

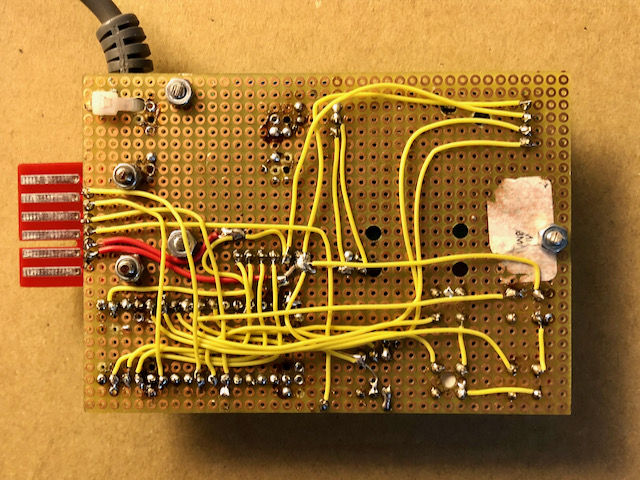
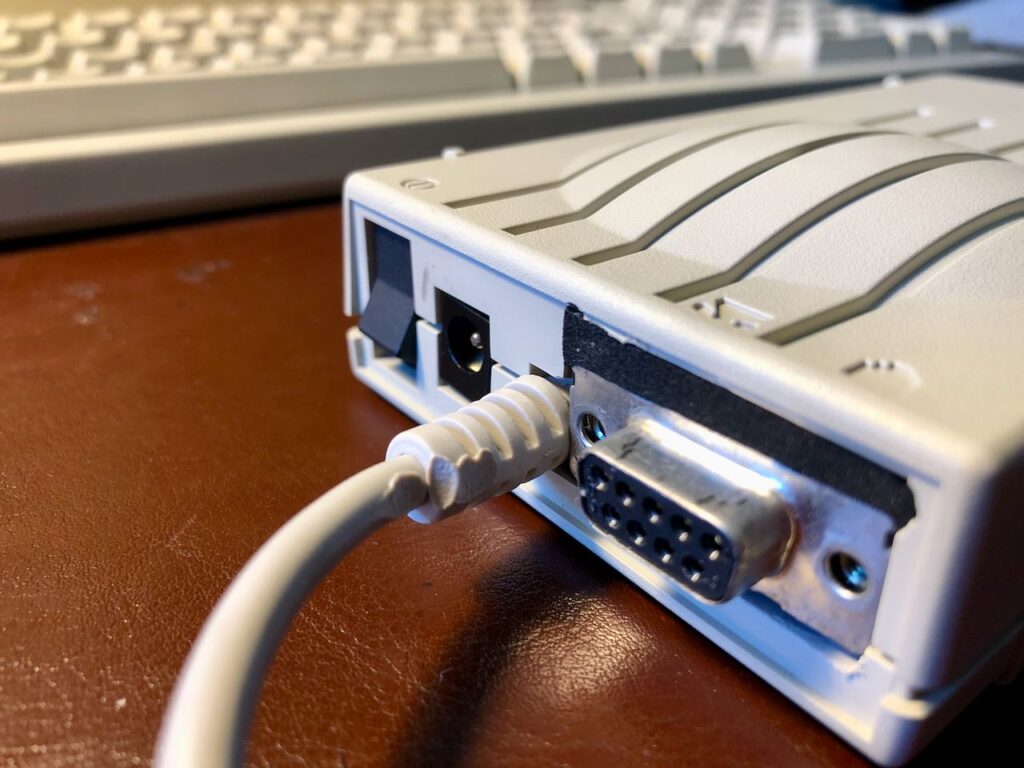
Nella mia versione ho aggiunto il PCB del connettore edge, acquistato tempo fa su ebay. In questa maniera potrei collegarci un Datassette vero e trasferire i nastri sulla scheda SD. Per il momento lo uso per prendere l’alimentazione per il mio SD2IEC (ma questa è un’altra storia).

Tapuino e SD2IEC insieme al mio Breadbin (in fondo c’è il Commodore 128, un altro pezzo della mia collezione).

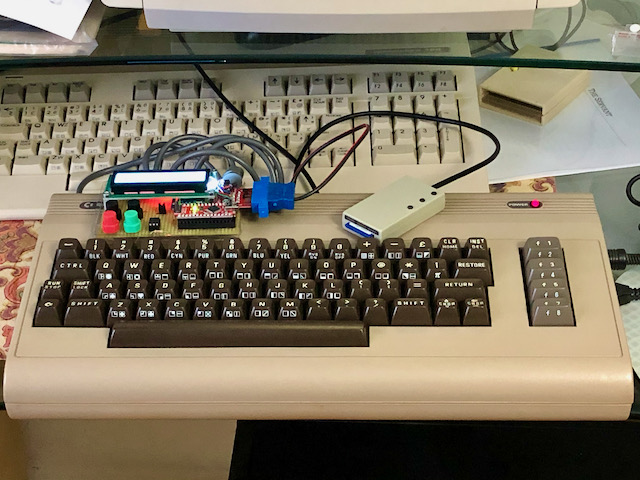
A questa punto non rimane che prendere una MicroSD, metterci dei file in formato TAP e… iniziare a caricare i proprio giochi preferiti!

C64 breadbin restored

Some days ago I got this amazing C64 breadbin, aesthetically in very good condition but with a faulty motherboard. Instead of the usual startup screen it showed an horrible “Out of memory error in 0” message error. This is a symptom of one or more bad RAM chips that need to be replaced.

Bad RAM chips 🙁

These chips can be replaced with others as long as they have a RAS access time less then or equals to 200 ms. There are some similar models with these codes: 4164-2, MT4264-15, MT4264-20, HM4864P-2, M3764-15RS. I’ve found this good article where I found all the informations I was needed.

So I’ve bought a new set of RAM chips from a ebay seller and I armed myself with soldering iron and much of patience and started to desoldering and removing all the old chips.

I had to replace RAM chips with new ones

Instead of soldering the new chips directly to the board, I soldered eight sockets. So in case of need it will be simple to replace the RAM chips in the future.

Then I put the new chips in the sockets, crossed my fingers and give power… and finally I saw the Basic screen. It works!!

Teleport Gold modem reconversion

A few years ago I bought a Global Village Teleport Gold II fax/modem for my personal vintage collection. I had been always fascinated from old stuff used to communicate in the world wide web of that era but today they are almost useless except as an ornament accessory for my Macintosh Classic.

I don’t why but these days I started thinking when I was younger and I was moving my first steps into the Internet. No many years ago, really, but there weren’t broadband connections, wifi and social networks. To navigate I had to plug my serial modem to the telephone outlet, dialing to my internet provider and start the PPP session, wait for the complete loading of every web page keeping an eye to the minutes counter or my father would have scolded me! Now everything is changed, we are always connected, social networks are became the usual way to communicate each other. So that old serial modems are became useless, even for fax messages (who’s still use them?).

So I got this idea: why don’t try to reconvert my Teleport Gold modem to allow at least a wifi connection to my Macintosh? I had already known the amazing Bo Zimmerman’s Zimodem project buying an adapter for my Commodore C64 and I’d liked to get something similar for my Classic also.

The first goal was to keep the aesthetic of the original modem. In addition I wanted to use the Macintosh modem port. So I started to search informations about the RS-422 interface and how it could be connected to the UART of a ESP32 MCU. I discovered that the RS-422 is very similar to the more standard RS-232 and that I could use a MAX3232 IC as signal converter.

Top view of the modem board I built. I’ve used and ESP32 MCU controller. Near the DB9 connector you can see the TTL<-> RS-232 converter. I use the same IC for both DB9 (RS-232) and Mini DIN 8 (RS-422) connectors.

At this point I built the circuitry needed for my project. I pulled up from the original logic board the serial cable, switch and power plug . I replaced the telephone plugs with a DB9 connector in case I would use this modem with my Amiga. Since Zimodem firmware supports an SD card on ESP32, I put it one. I added also an internal speaker in case I want to simulate the old dial-up sound (do you remember that Pshhhkkkkk krrrrka kingkakingkakingtsh chchchchchchchcch dingdingding ?) or if I’d wanted to add some extra features.

Then I got a copy of the Zimodem firmware and I added some changes to drive the LEDs on the front panel of the Teleport Gold modem: one green led for the power on, another green one when the wifi connection is active and a yellow led for the serial activity.

After flashed an ESP32 and made the final checks (I didn’t want to blow my Classic, of course) I started the Terminal program – no, it’s not the Mac OS X one 😛 – and input some AT commands.

Here following some picture of my work. Any feedback is appreciated.